Cornicing provides an elegant finish to a room, but when it’s not in prime condition it can be glaringly obvious – we look at common issues and ways to address them…
What is cornicing?
The architectural flourish of interior cornicing dates back to the Ancient Greeks and remains a popular aesthetic touch today; a means of elegantly concealing the join between wall and ceiling. Modern cornices tend to be fairly plain, but many period homes still showcase their original ornate mouldings. Wear and tear to any kind of cornicing really draws the eye and should be addressed as soon as possible to prevent any problems from worsening.
What type of damage occurs on cornicing?
‘The most common source of damage to old cornice is moisture,’ says Russell Brewis of cornice experts Artisan Plastercraft. ‘This can be dampness over time or a water episode such as a flood or burst pipe. Old cornice can also be compromised by sustained vibrations and/or damage caused by DIY or other building work.’
Can you repair cornicing yourself?
Water staining, cracks and thick layers of paint that obscure the detail of the plasterwork are visible signs that your cornicing needs attention, but which repairs should you tackle yourself and which should you leave to the experts? It largely depends on your own level of skill and confidence, but there are certainly some issues that can be tackled by DIY-savvy homeowners.
‘Layers of paint can be removed by anyone with some dexterity and lots of time,’ suggests John Gallacher of Halcyon Ornamental Plasterers Ltd. ‘Though in 45 years I’ve witnessed only two ornamental ceilings that the owners completely cleaned of paint. Both were excellent but took hundreds of man hours.’ In both these cases small steam tools were used. Some people opt for paint stripping solutions but John isn’t a fan: ‘In my view they create more damage and aren’t fit for purpose.’
Small cracks and chips can be worth a DIY effort too – carefully make the area smooth, chiselling away rough edges and sanding gently. Apply filler and smooth it over, ensuring you don’t overload it. Then make sure the area is clean and fully dry before painting it.
Which cornicing repairs require professionals?
Russell agrees that superficial decoration of cornicing is straightforward to tackle but recommends that any cracks should be investigated before repairs or redecoration are undertaken. ‘If there is evidence of damp, water staining, cracks or detached cornice pieces it is advisable to seek the guidance of an expert,’ he adds. ‘It’s especially important in the case of listed buildings.’
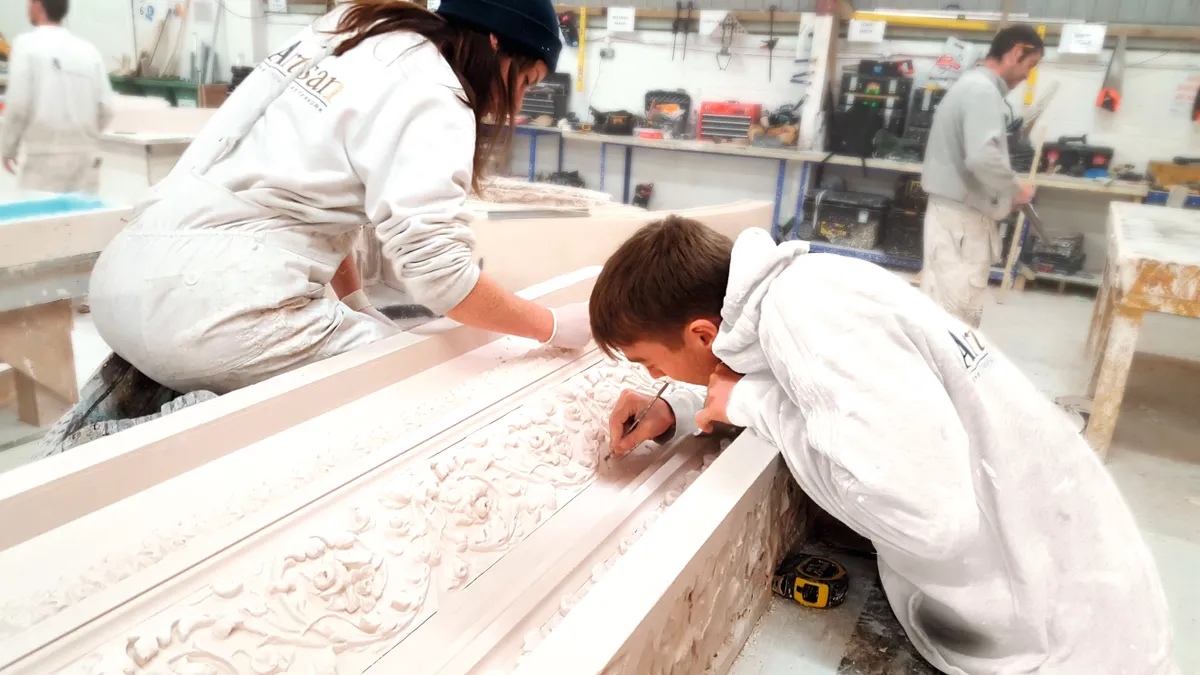
In situations of severe damage or where listed buildings are concerned, professionals will be able to help. Specialists in decorative plaster can ensure existing mouldings are faithfully replicated, and as enriched cornice mouldings are harder to work with than plain ones, these will benefit from expert care.
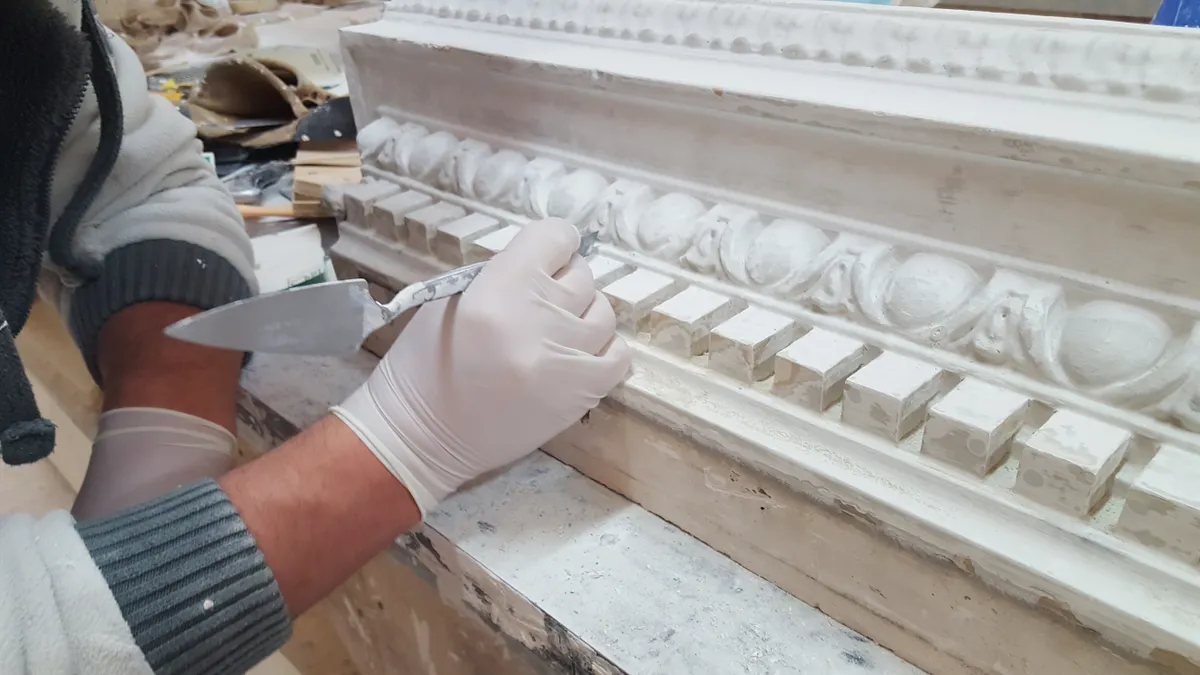
‘If a cornice is enriched we take samples of enrichments and ornament, then clean these samples back to their original unpainted state and form new silicone moulds to replicate and fit, so that the end result looks exactly as it did the day the original work was completed,’ explains John.
How to repair cornicing at home
Matthew Rose undertook DIY cornice repairs while working on his period home renovation.
The cornicing in our house is original Victorian, but a previous owner had covered the entire end walls of several bedrooms in huge fitted wardrobes. Thankfully they hadn’t removed the cornicing, but it had been damaged in several places, with small cracks and dinks where it had been bashed around over the years, and some was covered in thick paint that was flaking away and had to be removed.
We tackled the prep work and repaired the cracking and smaller areas of damage ourselves: once we’d removed the wardrobes, old layers of paint on the cornicing had to be painstakingly chipped away by hand to minimise damage to the original plasterwork underneath.
Once we were back to the original plaster, we carefully raked out and cleaned up the cracks and damaged areas before lightly sanding the entire cornicing. We then used a lightweight filler to make the necessary repairs. Once the lengthy prep process was finished, we used a distemper paint to topcoat and allow the 120-year-old plasterwork to breathe after years of emulsion, gloss and eggshell.
Essential tools included a small leaf trowel to apply filler in hard-to-reach areas and Gyproc Easifill 60 for the repairs: probably not a ‘traditional’ fix, but it’s super-lightweight, easy to apply and sand, and gives an excellent smooth finish.
Some of the cornicing did require professionals – areas of more significant damage were beyond our DIY skill level, and a local company did a fantastic job.
If you take on DIY cornice repairs you’ll need lots of patience. Good prep work, taking it back to bare plaster and starting from scratch are essential to ensure the cornicing will last another 100-plus years! It took a lot of time, but the results are worth it.
See more of Matthew’s renovation on Instagram @thedetachedvictorian
Cornicing repair contacts
Halcyon Ornamental Plasterers Ltd
Ornamental plasterwork, restoration and conservation firm based in Glasgow. halcyoncornice.co.uk
Artisan Plastercraft
Decorative plaster, mouldings and lime plastering specialists based in Kent. artisanplastercraft.com
Building Conservation Directory
Information resources for conservation, restoration and repairs. buildingconservation.com
